Adorable Antique Wooden Treasure Chest Kids' Craft
I love this antique treasure box craft because it's easy and fun to do with your kids, whether you're a teacher or a parent, it's inexpensive, and you end up with something that's not just lovely to look at but definitely useful, too! You'll find some neat learning connections at the bottom of the post.
Let's get to it! Here's what to do...
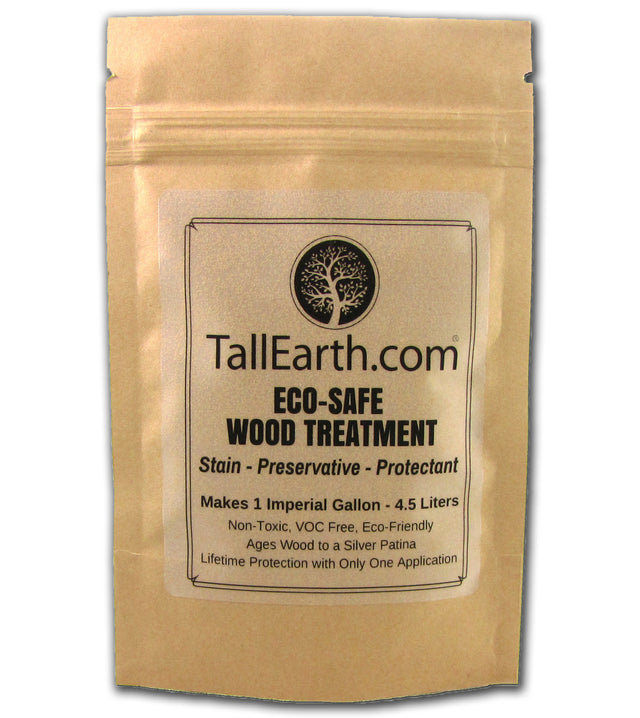
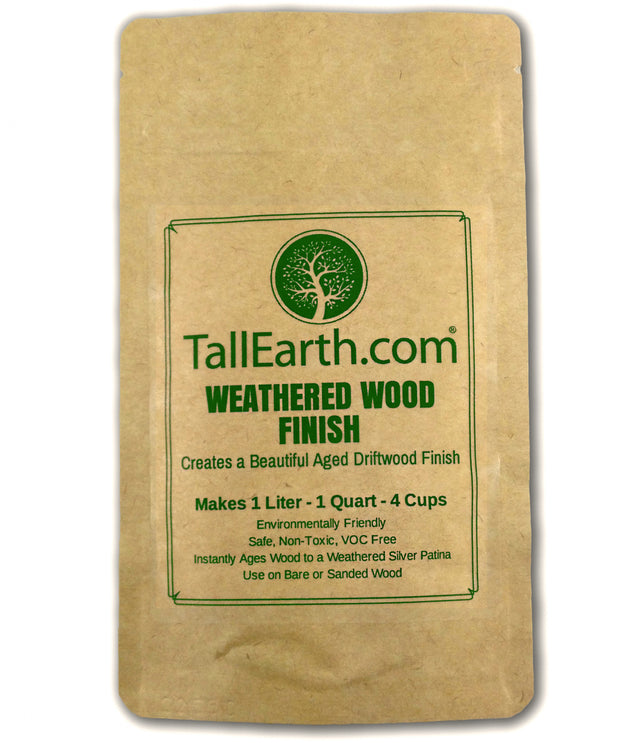
Materials: Small Wooden Box (I got mine from the Dollar Store for $2), Paintbrush, Kid-Safe Weathered Wood Finish, work surface (I used a plastic tray and some craft paper to catch spills), wax paper, and a printer.
Step 1: Have your kids set up a work space and gather up materials. Make a math/science connection by giving your kids a chance to measure and mix the Weathered Wood Finish powder into water. I used the recommended amount but you can mix more or less of the powder into the water to get a darker or lighter finish.


Step 2: Start "finishing" the wood by painting the mixture onto the clean surface of the wood. I love doing this part with kids because there are so many stains and finishes out there that I wouldn't be able to use with kids because of toxins, etc., but it's really great for kids to be able to experience working with wood and you know that this finish is totally kid-safe.
Note: You can paint more right on top of a wet coat if you want a darker finish. The DIY weathered wood finish is super-easy to use and doesn't require a lot of fuss. (Very helpful for someone like me - not great at visual arts!)
Step 3: While the finish dries, your kids can print images that they will then transfer onto the treasure chest using a credit card to rub the images directly onto the finished wood.
Learn more about this process at a DIY site I enjoy visiting called The Art of Doing Stuff. I printed some butterflies. I didn't have wax paper so I used parchment and taped it onto regular paper so it wouldn't get stuck in the printer. My printer was low on ink, too, but it sort of gave the print a vintage look. YAY!
Note: I've stopped imagining getting things perfect and now try to find the "Zen of DIY Projects" by delighting in the process!! LOL.
And there you have it... a finished Antique Treasure Chest that your child can make and be really proud of!

Classroom or Parent-Child Learning Connections
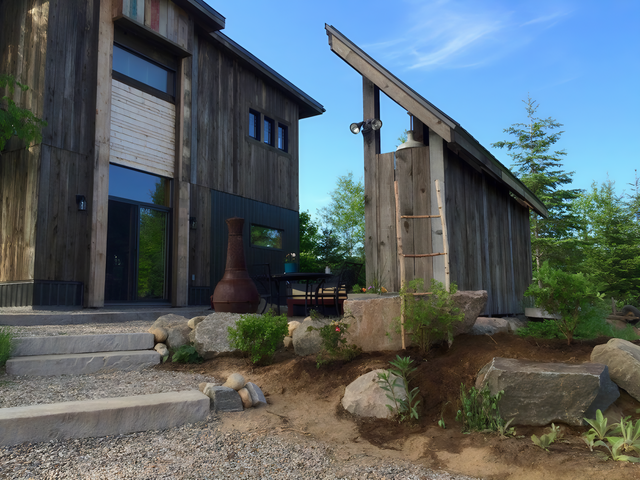
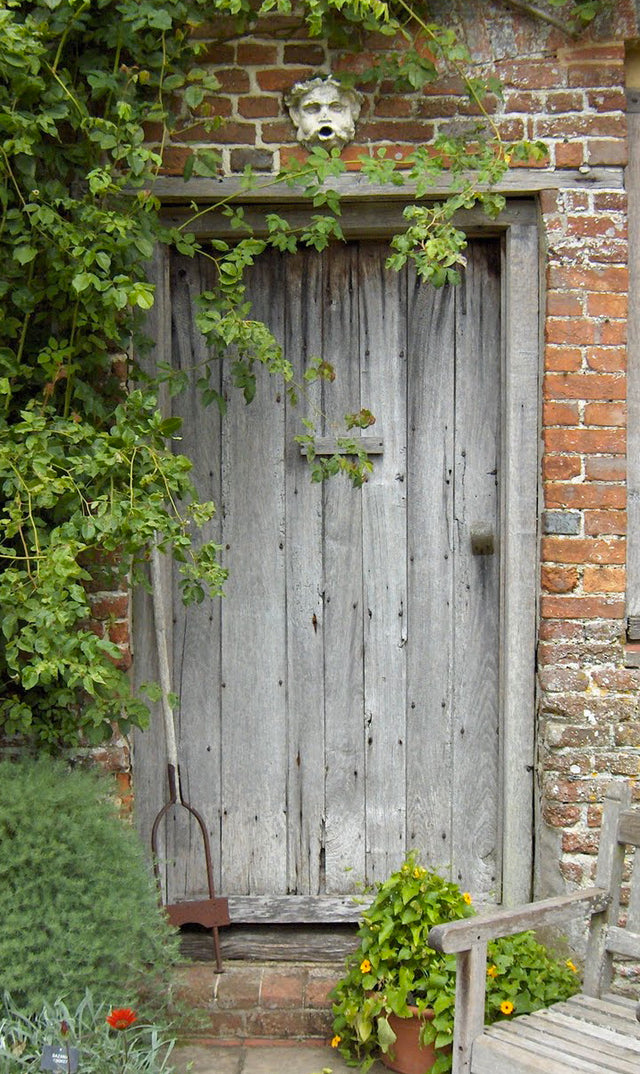
Woodworking/Design: Talk about methods of staining wood and finishing wood. Talk about country, rustic, and antique decor and design elements - what is it about a weathered wood look that is appealing from a design perspective? What does it stir within us when we see "aged" wood?
History: Connect the treasure box craft to a history unit and have students collect items in the treasure box. Look at building, preserving, and finishing methods used throughout history.
Values: Talk about why things that are old, antique, and "aged" are important and valuable. Sometimes in our fast-paced world we forget about the value of the past, the value of the memories of our elders. Doing a craft project like this can be a nice way to have an entry-point into talking about these important values.
Science: Talk about why wood has been used as a building resource throughout history and the reasons for treating and finishing wood.
Ecology/Sustainability: Talk about the importance of using building and finishing materials that are non-toxic and eco-safe. Talk about how wood treatment preserves the wood we use in built structures creating a longer life for those structures thereby adding to sustainable use of resources, especially when the method for preserving wood is non-toxic and eco-safe.
Are you a teacher or parent with a great woodworking craft idea to share? Tell us about it in the comments below! We'd love to hear from you.




0 Comments
There are no comments for this article. Be the first one to leave a message!