
DIY Non-Toxic Raised Garden Beds

When we moved from the city to the country in 2013, the first thing I wanted to do was create a vegetable garden for our family. Thanks to the vastness of the Internet, growing our own food couldn't have been easier. We have hard, clay soil in the region of Southern Ontario, Canada where we live, so I chose to build up from the lawn, creating raised beds. Building raised garden beds allowed us to manage our soil quality, contain the garden area, and maintain a family-sized vegetable garden that our kids could access easily.
It was extremely important to make sure the garden beds were built with non-toxic materials.

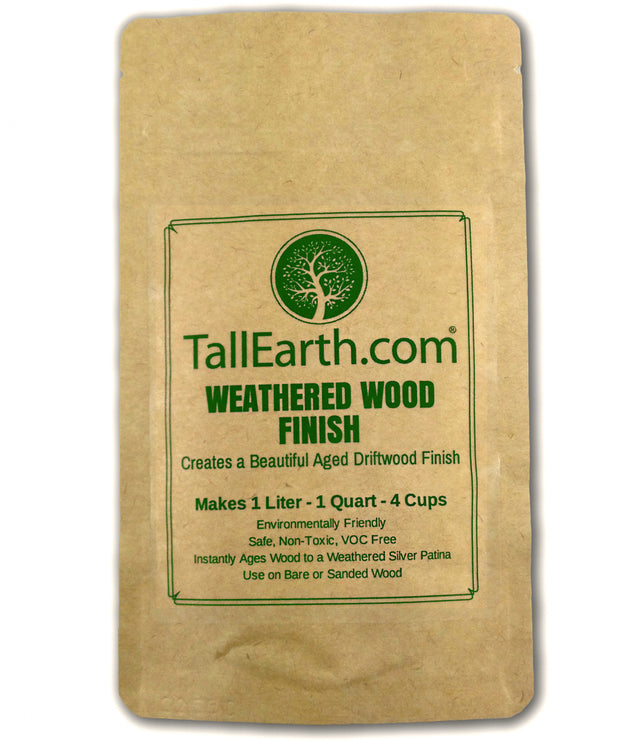
We followed this great tutorial from Pioneer Woman, and treated the beds with our Eco-Safe Wood Treatment.

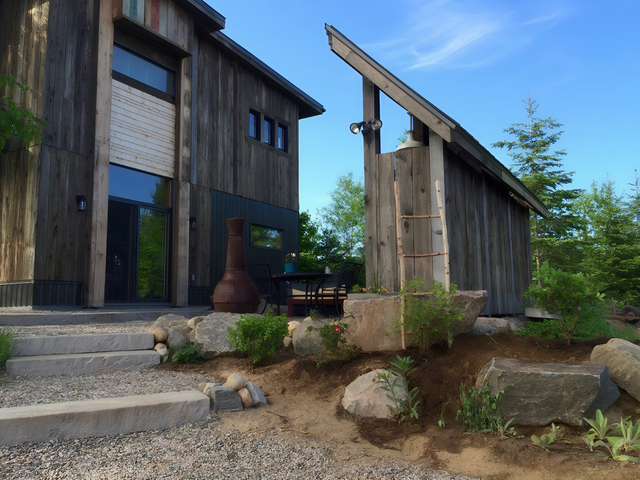
Frankly, we cheaped out on wood, choosing to use fir framing lumber instead of pine or cedar. This is a risky choice, as some of you know, because framing lumber is intended for indoor use. The whole garden project was an experiment, and we weren't sure we wanted to tackle it again this year. We were delighted with how it stood up to our insane Canadian winter, and even more delighted at how massive our harvest was this summer.
Here's a list of the basic requirements, and a link to the tutorial.
Supplies:
- 4 – 2 x 6 boards @ 8 feet long. (Pine or cedar are good choices. Don’t use pressure treated lumber.)
- 4 – 2 x 6 boards @ 4 feet long.
- 1# 3 – 3 1/2 exterior screws
- 1# 2 – 2 1/2 exterior screws
- 1 bundle 18″ – 24″ stakes
Tools:
- Tape measure
- Pencil
- Level
- Small sledge hammer
- Carpenter’s square
- Cordless drill
- 7/64 #8 counter sink bit
Basic instructions:
- Set the first side, attach ends with large screws. Attach ends on second side with large screws.
- Square and level first side. Drive stakes in corners. Attach stakes to boards with small screws.
- Square and level second side. Drive stakes in corners. Attach stakes to boards with small screws.
- *Make sure the whole thing is level*
- Drive more stakes all along the inside of the box, leaving about 4 inches of stake sticking above the board. Attach stakes to boards with small screws.
- Attach upper layer of boards to themselves as you did on the bottom layer, then attach boards to stakes.

We're always looking for clever ways to use our products. Send us your favorite DIYs and if we publish yours, we'll send you a discount code for your next order!


0 Comments
There are no comments for this article. Be the first one to leave a message!